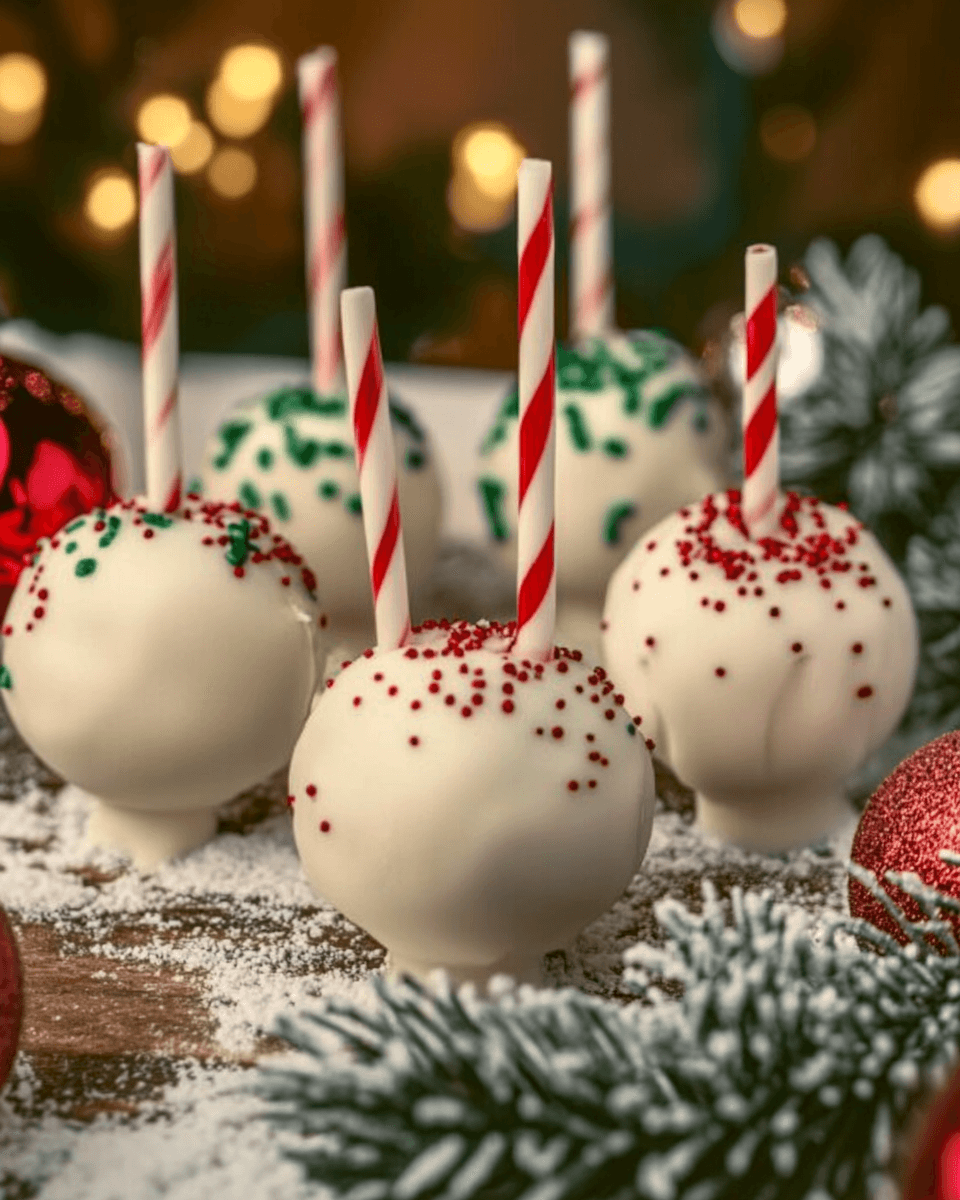
As winter arrives, the air fills with the scent of baked goods. It’s the perfect time for Christmas cake pops. These treats are fun to make and share, making them great for holiday parties.
In this guide, we explore Christmas cake pops. We’ll look at their history, flavors, and how to make them. Whether you’re an experienced baker or new to the kitchen, you’ll learn how to make amazing Christmas cake pops.
Table of contents
- Key Takeaways
- What Are Christmas Cake Pops?
- Why Choose Cake Pops for the Holidays?
- Essential Ingredients for Christmas Cake Pops
- Step-by-Step Guide to Making Christmas Cake Pops
- Decorating Your Christmas Cake Pops
- Tools You’ll Need for Cake Pops
- Tips for Achieving the Perfect Cake Pop
- Storing and Serving Your Cake Pops
- Creative Flavor Combinations for Christmas Cake Pops
- How to Make Cake Pops a Fun Activity
- Conclusion: Enjoying Your Festive Treats Together
- FAQ
Key Takeaways
- Christmas cake pops are bite-sized treats made with cake crumbles, frosting, and candy coatings.
- They are perfect for holiday parties, gifts, and decorative centerpieces.
- These versatile treats can be customized with various flavors and decorations.
- Cake pops are a fun and easy way to bring the holiday spirit to your baking repertoire.
- Discover tips and tricks for making, decorating, and storing your Christmas cake pops.
What Are Christmas Cake Pops?
Cake pops are a modern dessert trend. They mix cake and frosting into a lollipop treat. For Christmas, they’re a hit for cake pop recipes and edible gifts.
Brief History of Cake Pops
The cake pop trend started in the early 2000s. They were seen as a fun and easy dessert. At first, people used boxed cake mix and store-bought frosting. But, as the trend grew, bakers started using homemade ingredients for more gourmet treats.
Popular Flavors and Variations
For Christmas, popular cake pop flavors include vanilla, chocolate, red velvet, and gingerbread. Bakers also get creative with designs. You can find snowman, Christmas tree, and reindeer pops, even with pretzel antlers.
| Product | Price |
|---|---|
| 24 Pink Snowflake Glitter Popsicle Sticks | $12.00 |
| Cakesicle Mold | $12.00 |
| Small Christmas Tree Fondant Mold | $9.00 |

Why Choose Cake Pops for the Holidays?
If you’re looking for a fun and festive way to celebrate the holiday season, Christmas cake pops are a delightful choice. These bite-sized treats offer a unique and visually appealing presentation. They are perfect for parties, gift-giving, and even as edible decorations.
Fun and Festive Presentation
One of the primary reasons to opt for festive treats like cake pops is their ability to capture the essence of the holidays. These miniature confections can be easily customized with a variety of colors, sprinkles, and designs. You can match any Christmas theme, from classic red and green to glittering gold and silver.
Easy to Customize for Holiday Themes
Another key benefit of Christmas cake pops is their versatility. With a little creativity, you can transform these delectable bites into unique holiday-themed creations. Whether you opt for snowflake designs, Santa-inspired pops, or even mini Christmas trees, cake pops provide a canvas for your imaginative holiday expressions.
Moreover, their compact size makes Christmas cake pops the perfect choice for serving at parties or gifting to friends and family. The bite-sized nature of these treats ensures that both children and adults can enjoy them without feeling overwhelmed. This makes them a crowd-pleasing addition to any holiday celebration.

Essential Ingredients for Christmas Cake Pops
To make Christmas cake pops, you need a few key ingredients. You’ll need a cake mix, eggs, oil, water, and frosting. You can use either store-bought or homemade frosting. For the festive look, candy melts or chocolate and lollipop sticks are also necessary.
Basic Ingredients Needed
- Cake mix (white, chocolate, or seasonal flavors)
- Eggs
- Oil
- Water
- Frosting (pre-made or homemade)
- Candy melts or chocolate for coating
- Lollipop sticks
Optional Ingredients for Extra Flavor
For an extra special touch, add some optional ingredients. Sprinkles, edible glitter, and crushed candy canes can add festive flair. You can also use food coloring for different colors. For more detailed designs, try using mini candies or pretzels.
| Ingredient | Price |
|---|---|
| 24 Pink Snowflake Glitter Popsicle Sticks | $12.00 |
| Cakesicle Mold | $12.00 |
| Small Christmas Tree Fondant Mold | $9.00 |
| Hot Pink Gel Food Color | $5.00 |
| White Chocolate Color | $8.00 |
| The Color Solution For Edible Paint | $10.00 |
| Wedding Gold Luster Dust | $8.00 |
| Gold Edible Glitter | $9.00 |
Step-by-Step Guide to Making Christmas Cake Pops
Making christmas cake pops is a fun project that adds festivity to your holidays. Follow this guide to make your own batch of these treats.
Baking the Cake
Begin by baking a vanilla cake as directed. Let it cool completely. Then, crumble it into fine pieces with your hands.
Crumbling the Cake
For perfect cake pops, get the right texture. Crumble the cake until it’s soft and sandy, with no big clumps.
Mixing with Frosting
In a big bowl, mix the cake crumbs with frosting, like vanilla or cream cheese. Mix until it’s moist and holds its shape.
Forming the Cake Balls
Use a cookie scoop or your hands to make round balls from the mixture. Place them on a parchment-lined baking sheet and freeze for 30 minutes.
After freezing, roll the balls again to make them round. Insert lollipop sticks dipped in candy coating into each ball. Freeze them for another 30 minutes before decorating.
With these steps, you’ll have delightful christmas cake pops ready for decorating. Get creative with flavors and designs to make them your own.
Decorating Your Christmas Cake Pops
Make your festive treats special by getting creative with your Christmas cake pops. Pick the right coatings for that holiday look.
Choosing the Right Coatings
Candy melts or white chocolate are great for coating. Choose festive colors like white, red, and green. Dip the cake pops in the melted coating, letting the extra drip off before moving on.
Adding Holiday Sprinkles
- Add holiday sprinkles or decorations quickly before the coating hardens for a fun look.
- Use different sprinkles like colored sugar, nonpareils, and mini candies for texture and interest.
Creative Decorating Ideas
Get creative with these decorating ideas for your Christmas cake pops:
- Snowmen: Coat in white chocolate and use candy features for eyes, nose, and arms.
- Christmas Trees: Coat in green chocolate and add sprinkle “ornaments” for a festive look.
- Reindeer: Use a pretzel stick for antlers and candy eyes for a cute reindeer look.
To keep your cake pops upright, use a styrofoam block or a cake pop stand. With a bit of creativity, your Christmas cake pops will be delightful gifts for your loved ones.
Tools You’ll Need for Cake Pops
Creating holiday treats like cake pops is easier with the right tools. Whether you’re a pro or just starting, these tools will help you make your cake pops look amazing.
Recommended Baking Tools
- A baking pan or sheet to bake the cake
- Mixing bowls for preparing the cake batter and frosting
- An electric mixer for a smooth texture
- A cookie scoop or melon baller for uniform cake balls
- Parchment paper or a silicone baking mat for easy cleanup
- Lollipop sticks or cake pop sticks to assemble the cake pops
Essential Decorating Tools
After your cake pops are baked, you’ll need decorating tools. These include:
- Microwave-safe bowls or a double boiler for melting chocolate or candy melts
- A tall glass or cup for dipping the cake pops into melted coatings
- A styrofoam block or cake pop stand to hold the cake pops while they dry
Optional tools for your holiday baking and cake pop recipes include a cake pop maker, a melting pot for chocolate, and decorating tools like tweezers for precise sprinkle placement.
With these tools, you’ll be ready to make delicious Christmas cake pops. They’re sure to impress your friends and family.
Tips for Achieving the Perfect Cake Pop
Making the perfect christmas cake pops needs focus and a few special techniques. First, make sure your cake-to-frosting mix is just right. It should be moist enough to hold its shape but not too wet.
Consistency Matters
To get the right mix, try different cake-to-frosting ratios. Start with 2:1 or 3:1 and adjust until it’s easy to roll into balls. It should not be too sticky or crumbly.
Cooling and Setting the Cake Pops
After shaping the cake balls, chill them well before dipping. This keeps them from falling apart. When melting chocolate or candy melts, avoid overheating. It can make the mix unusable.
If the coating is too thick, add a bit of coconut oil or shortening. Work in small batches to keep everything chilled. Let the pops set fully before packaging or serving.
By following these tips, you’ll make perfectly shaped, beautifully decorated christmas cake pops. They’ll impress your friends and family this holiday season.
Storing and Serving Your Cake Pops
Making festive treats like Christmas cake pops is a big job. Knowing how to store and serve them is crucial. This way, they stay fresh and look great. With a few easy tips, you can enjoy these edible gifts for weeks.
Best Practices for Storage
Storing your cake pops right is key to keeping them tasty and soft. Here’s what you need to know:
- Cake pops can last about a week at room temperature in a cool, dry place.
- Putting them in the fridge can make them last up to two weeks.
- Freezing them can keep them fresh for up to three months.
- Dipped cake pops last longer than plain ones because of the coating.
- Homemade dipped cake pops stay good for 3-4 days at room temperature. Store-bought ones can last 1-2 weeks.
- Pre-made cake pop centers can be stored in the fridge for up to a week before being dipped and served.
Ideal Serving Suggestions
When it’s time to serve your edible gifts, keep these tips in mind:
- Let refrigerated cake pops come to room temperature for the best taste and texture.
- Show off your cake pops in a fancy stand or wrap them up for gifts.
- At holiday parties, make a cake pop centerpiece on a styrofoam base with greenery or ribbons.
By following these storage and serving tips, your Christmas cake pops will stay fresh and delicious. They’ll be ready to bring holiday joy.
Creative Flavor Combinations for Christmas Cake Pops
Creating festive christmas cake pops opens up a world of possibilities. Classic flavors like vanilla, chocolate, and red velvet are always a hit. But why not try some unique holiday flavors? Surprise your guests with these exciting cake pop recipes.
Classic Flavors
Begin with the basics: vanilla cake with vanilla frosting, chocolate with peppermint, or red velvet with cream cheese. These flavors are sure to please and add holiday joy to your desserts.
Unique Holiday Inspirations
For something different, try gingerbread with cinnamon buttercream or vanilla with eggnog. Spice cake with maple frosting or vanilla with almond extract are also great choices. These unique flavors will make your holiday treats stand out.
Christmas cake pops are all about trying new things. Mix different extracts, spices, and festive ingredients to create your own special treats. Let your creativity shine and make your holiday baking unforgettable.
How to Make Cake Pops a Fun Activity
Cake pops are a great holiday baking project for the whole family. They’re not just tasty treats but also a fun activity for kids. Making them together can create lasting memories.
Involving Kids in the Kitchen
Get your kids involved in making cake pops. They can mix the ingredients, shape the balls, and add lollipop sticks. It’s fun for them to get messy and creative.
Give them aprons and let them decorate the cake pops. They can use colorful sprinkles and drizzles to make them festive.
Hosting a Cake Pop Decorating Party
Make holiday baking a social event by hosting a decorating party. Prepare the cake pops ahead of time. Then, set up a decorating station with lots of toppings.
Invite friends and family to join in. Seeing everyone’s unique cake pops is a joy. It’s a great way to spread cheer and make memories.
By making cake pops a family activity, you can spark your kids’ interest in baking. These treats will make everyone happy, both while making them and when eating them.
Conclusion: Enjoying Your Festive Treats Together
Christmas cake pops are more than just a tasty dessert. They’re a way to share joy and creativity during the holiday season. Making them as gifts, for a party, or as a family activity brings smiles and holiday cheer.
Sharing with Friends and Family
Encourage your loved ones to share and gift your homemade christmas cake pops. These edible gifts show off your baking skills and capture the holiday spirit. Package them in festive boxes or bags for a thoughtful gift that everyone will love.
Spreading Holiday Cheer with Cake Pops
Use cake pop making to create lasting memories and spread holiday cheer. Get your family, especially kids, involved in decorating these treats. The fun of making and enjoying these festive delights together will become a cherished tradition every year.
FAQ
Is it better to make cake pops the day before?
Yes, making cake pops the day before can be a good idea. It allows the cake and frosting mixture to set properly and makes the process of shaping and coating them easier. Storing them in an airtight container in the refrigerator helps maintain their freshness. However, ensure you bring them to room temperature before serving for the best taste and texture.
How many cake pops can be made with one cake mix?
Typically, one box of cake mix yields about 40 to 50 cake pops, depending on the size of the balls you roll. The standard size for a cake pop is about 1 to 1.5 inches in diameter. If you make larger cake pops, you’ll get fewer from one mix.
What is the secret to making cake pops?
The key secrets to making great cake pops are:
- Proper Cake-to-Frosting Ratio: Use just enough frosting to hold the cake crumbs together. Too much frosting can make the mixture overly soft, while too little will cause crumbling.
- Chilling the Cake Balls: Chill the cake balls in the refrigerator or freezer before inserting the sticks and coating them. This helps them maintain their shape and prevents cracking.
- Dipping Technique: Dip the stick into melted chocolate before inserting it into the cake ball to help secure the stick. Then, dip the ball in a smooth, well-tempered chocolate or candy coating.
- Avoid Overworking: Handle the mixture and the cake pops gently to avoid cracking or softening.
- Smooth Coating: Use a tall, narrow container for dipping, and gently tap off excess coating for a clean, smooth finish.
What does the reindeer cake pop taste like?
The reindeer cake pop is typically chocolate-flavored on the inside and coated with a sweet, crunchy candy shell or chocolate coating. It combines the moist, rich flavor of chocolate cake with the sweetness of the outer layer, which may include decorative accents like candy eyes, pretzel antlers, or a red candy nose for added texture and flavor. Overall, it’s a festive, fun treat with a balance of chocolatey richness and candy sweetness.